Handcrafted Caramels
2020 Dec 2nd

Everyone loves the captivating flavors of fresh homemade caramels! The little known secret? They are deceptively easy to make. Fresh, homemade caramels make great treats for sharing as little gifts in the holiday weeks ahead. IN THIS ISSUE, we show you, step-by-step, how to master boutique caramels made in your own kitchen.


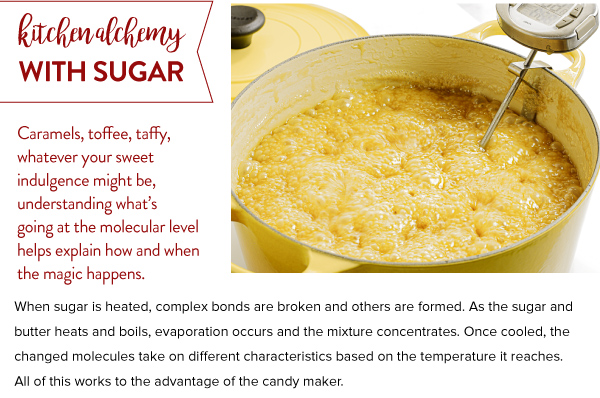
Always remember to check the temperature with a Taylor Digital Candy Thermometer!

Handcrafted Caramels
Makes about 120 - 140 pieces, depending on size
Ingredients:
Vegetable oil (for coating pan)
3 cups heavy cream
3 cups granulated white sugar
1 cup brown sugar, packed
2 cups light corn syrup
1-1/2 teaspoons Kosher salt
1/2 cup (1 stick) unsalted butter
2 teaspoons vanilla extract
Directions:
1. Prepare a 9 x 13 rimmed pan prior to starting to cook. Oil the bottom and sides of the pan well using a tasteless vegetable oil, one that stays liquid at room temperature. Line the pan with a criss-cross of parchment paper cut to match the pan’s size with a little extra at the ends; avoid any wrinkles in the corners. Set aside.
2. Wipe the interior of a large saucepan or Dutch oven with a light coating of oil. Measure the heavy cream, sugars, light corn syrup and salt into the pan. Over medium-low heat, stir the ingredients together until well-combined and the sugar is dissolved.
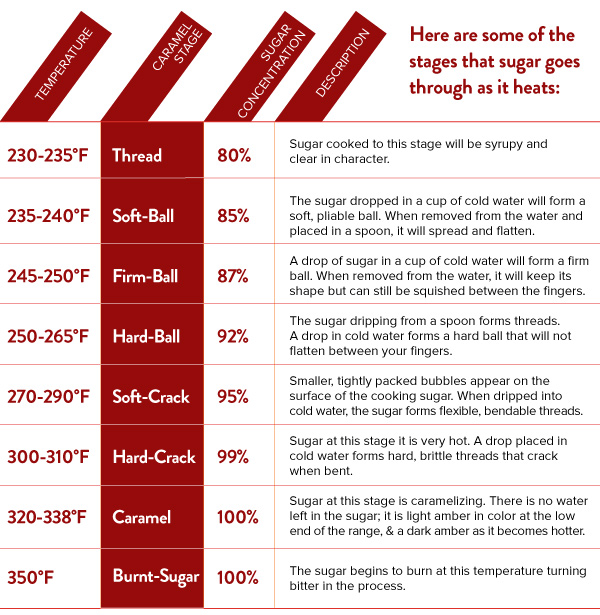
3. Increase the heat to medium. Continue stirring until the cream-sugar mixture reaches a boil. Stop stirring. Using a brush dipped in warm water, wash down any sugar crystals that may have formed on the edge of the pan. Allow the mixture to cook, without stirring, until it reaches the firm-ball stage, around 248°F as measured on a candy thermometer clamped to the side of the pan. (If you do not have a candy thermometer, use a water test to check for the appropriate sugar stage. A drop (approximately 1/4 teaspoon) of caramel in cold water should form a firm ball, yet be pliable.)
4. Remove the caramel from heat, add the butter and vanilla stirring until melted and well-combined with the cream-sugar mixture. (Cutting the butter into half-inch cubes will help to efficiently melt and distribute this key ingredient.)
5. Carefully pour the caramel into the prepared, lined pan. Allow the caramel to set and cool to room temperature. This will take several hours or overnight. (For evenly sized caramels, make sure the pan is setting on a level surface.)
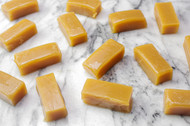
6. Once cooled, lift the sheet of caramel from the pan to a safe cutting surface. The caramel should retain its shape. Neaten the edges of the caramel to remove the rounded edges. Cut the caramel slab vertically and horizontally in desired sizes and shapes with a long-bladed cook’s knife. We suggest 1-1/4-inch by 1/2-inch pieces, or 1-inch squares. Wrap the pieces in nonstick wrap such as parchment paper. Store at cool room temperatures for up to 2-3 weeks.


