How to Clean Non-Stick Pans Without Damaging Them: Chef-Approved Tips
2025 Jun 16th
We really believe that non-stick pans make cooking feel like cheating…in the best possible way. You know that little thrill when your omelette slides right out of the pan? That’s the magic of a good non-stick pan, and we’re not giving it up.
We know they're indispensable, but here’s the catch: if you don’t treat them right, they won’t stick around for long.
Non-stick coatings are a little delicate, and bad habits can ruin them before you know it.
No stress though, we’re here to help you keep your pans in great shape, with a few smart, chef-approved tips you’ll actually remember. Let’s get into it.
Why Cleaning Non-Stick Pans Is Important
We all know how frustrating it is when food starts to stick, right? We can bet that your non-stick pan starts out like a dream, cooking everything perfectly with no oil, then over time - boom - it’s not so non-stick anymore. Food sticks, residue builds up, and suddenly you’re left scrubbing harder than you’d like.
Not only is that annoying, but it also shortens the lifespan of your pan. A few cleaning mistakes (like using the wrong sponge or cleaning too roughly) can ruin that precious coating, making it less effective and potentially harmful.
Whether you’re using high-quality non-stick pans from Le Creuset, Green Pan or Demeyere, proper care is key to preserving that smooth, reliable surface. The cleaner your pan, the longer it’ll maintain its non-stick performance, and the better your meals will turn out.
Cleaning your skillets & non-stick frying pans the right way isn’t just about keeping them shiny, it’s about preserving that precious non-stick coating.
The cleaner your pan, the longer that smooth, non-stick surface will last, and the better your meals will turn out.
Taking a little extra time to clean it properly can save you from having to replace it too soon and help you maintain those low-fat, no-stick cooking moments that make life so much easier. Plus, a well-maintained non-stick pan just feels like a true kitchen companion. Let’s keep that bond strong!

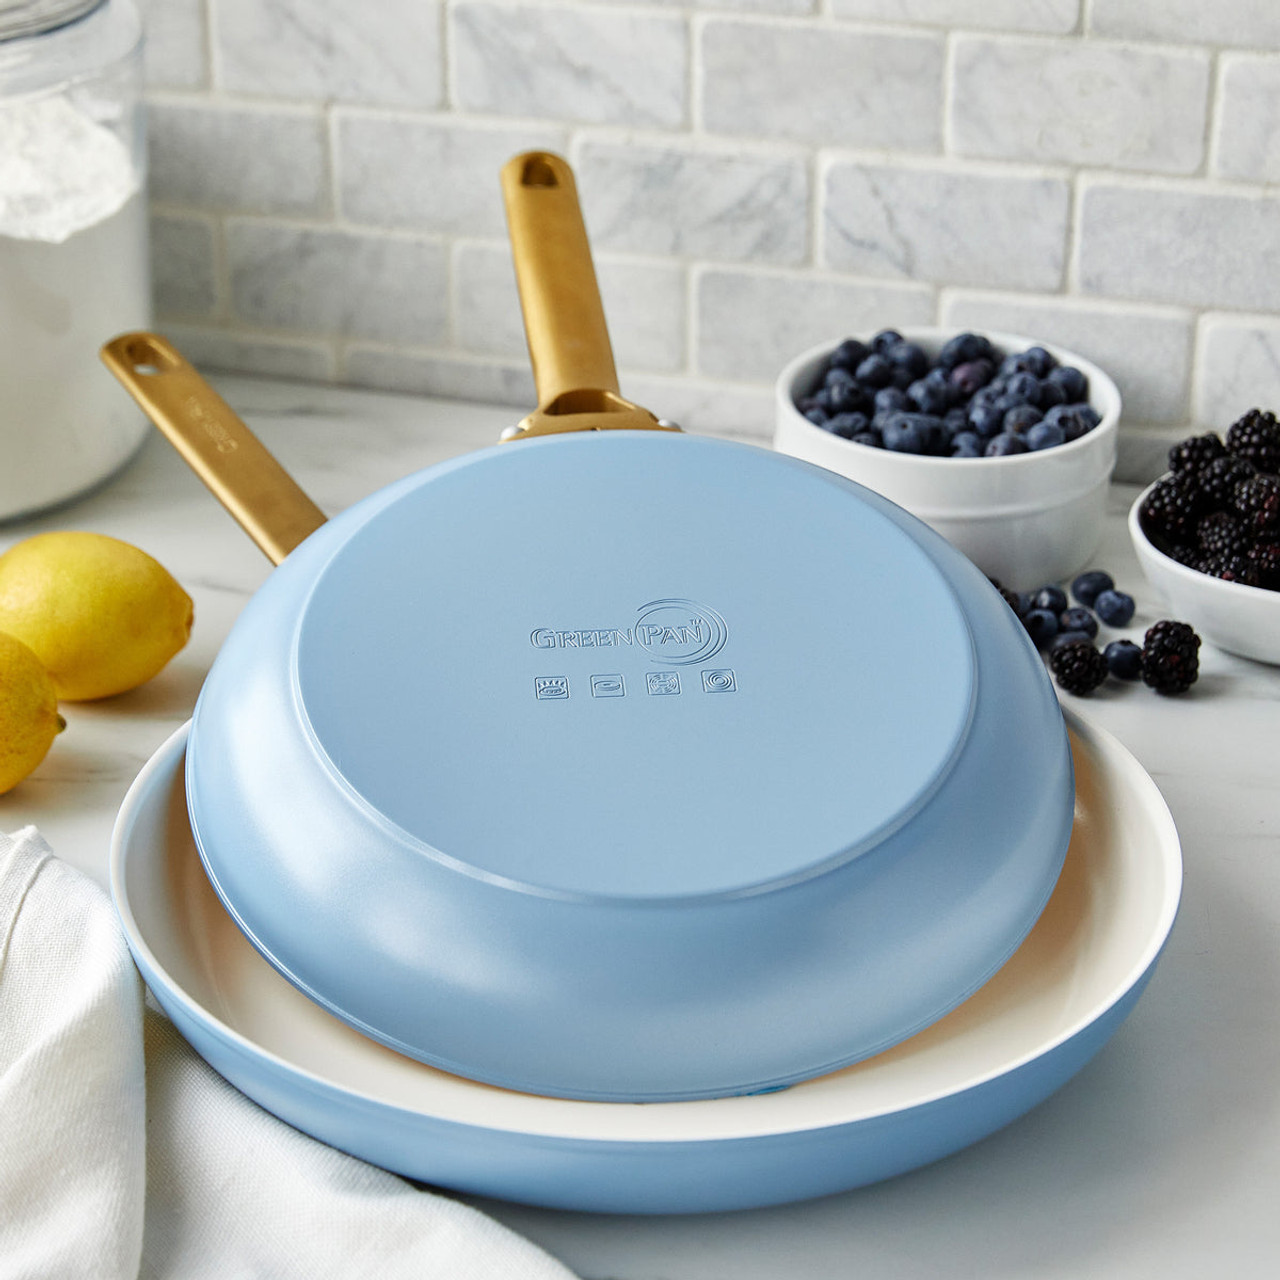
GreenPan - Reserve Sky Blue 2 PC 10" & 12" Non Stick Fry Pan Set
Getting Your New Non-Stick Pans Ready for Action
We know, it’s tempting: you’ve just got a brand new non-stick pan, and you’re probably eager to start cooking right away. But hold on a moment! Before you use it, there’s one important step you’ll want to take: conditioning the pan.
Not sure what that means? Don’t worry, we’ve got you covered!
Conditioning your non-stick pan before the first use is a quick, crucial and easy process that helps protect the coating and ensures it stays in tip-top shape for longer. Here’s how to do it:
-
Wash the pan with warm water and a mild dish soap to get rid of any residue.
-
Dry it thoroughly using a clean, soft cloth.
-
Lightly coat the interior with some vegetable oil.
-
Heat the pan over medium-low heat for about 3 minutes to let the oil absorb.
-
Remove the pan from the heat and let it cool off completely.
-
Wipe away any excess oil with a paper towel or soft cloth.
Now you’re ready to cook up a storm without worrying about damaging your non-stick surface!
The Best Way to Clean Non-stick Pans
Okay, now that you’ve conditioned your new non-stick pan and are ready to cook, let’s see how proper cleaning after use is just as important for preserving the non-stick coating and making sure your pan stays in top shape for years to come.
We get it, cleaning your non-stick pan isn’t the most exciting task. But trust us, it’s worth doing it right: handwash it. That's right, dishwashers may seem like a quick fix, but they aren’t always the best choice for your non-stick pans. In fact, some finishes, like those with wood-effect handles, could end up damaged by the dishwasher, and we’re sure you’d prefer your pan to last as long as possible!
What You’ll Need:
Hand washing your non-stick pan is easy and doesn’t call for any fancy tools. Here’s what you’ll need:
-
Mild dish soap
-
Warm water
-
Soft microfiber cloth or sponge
-
Paper towels (optional for drying)
How to Clean Non-Stick Pans Step by Step
1. Let it cool: After cooking, give your pan a few minutes to cool down. Don’t wait too long, though, cleaning while it’s still warm makes it easier to remove any stuck-on food.
2. Avoid harsh tools: Skip the metal scrubbers or abrasive sponges. These can scratch the surface and ruin that perfect non-stick coating. Stick to soft, non-abrasive materials.
3. Wash by hand: As mentioned, handwashing is the safest method for your non-stick pans. Use warm water and mild dish soap to gently clean the pan inside and out.
4. Use a soft cloth or sponge: Grab a soft microfiber cloth or sponge to scrub away grease and residue. Avoid anything too rough to protect the non-stick surface.

5. Dry it off: Once clean, dry the pan with a soft cloth. Leaving it damp for too long could cause spots or damage over time.
By following these simple steps, your non-stick pans will stay looking great and continue cooking your meals without any hassle!
How to Store Non-Stick Pans: Our Chef's Tips
Today’s non-stick coatings are quite resistant and durable, but to keep your pans in top condition, it’s worth following a few simple precautions.
Here are some useful suggestions:
-
Choose soft utensils and accessories made from materials like silicone, nylon, or wood.
Avoid using stainless steel or aluminum utensils, as they could scratch the non-stick surface. And never cut food directly in the pan!
-
Avoid overheating the pan and cook on medium or low heat.
Contrary to popular belief, high flames won’t cook your food faster, and overheating can discolor the pan, reduce its non-stick performance, and even create bubbles in the coating, which can cause it to peel off. Plus, if a pan is accidentally left on high heat, it could become a fire hazard. Leaving a pan unattended on the stove is always dangerous for your cookware (and for you)!
-
Use a pan protector.
Also, pay attention to how you store your non-stick pans in the kitchen cupboard: stack them one on top of the other, placing a felt pan protector between them. If you don’t have one, a clean, dry tea towel works fine too. This way, you’ll avoid scratches caused by friction when stacking pans.
Common Mistakes and Misconceptions
Using metal utensils
That shiny metal spatula might look tempting, but it’s bad news for your non-stick coating. Always go for silicone or nylon tools. Wooden ladles or wooden spoons are a great option as well, especially those from renowned brands like Bérard France.
Cranking up the heat
Non-stick pans aren’t made for high temperatures. Cooking over intense heat can warp the pan, damage the coating, and shorten its lifespan. Medium or low heat is more than enough, and your food will cook better too.
Spraying cooking spray
It seems harmless, but cooking sprays often leave a stubborn, sticky film that’s tough to clean and can ruin the non-stick surface. A light drizzle of regular oil is a way better option.
Cleaning while it’s scorching hot
Rinsing a hot pan under cold water might seem like a time-saver, but it can warp the pan and damage the non-stick layer. Give it a minute or two to cool down before cleaning.
Stacking pans without protection
Throwing pans one on top of the other without anything in between is a surefire way to scratch the coating. Use a pan protector, a soft cloth, or a tea towel to keep them safe.
FAQ
Can I put my non-stick pan in the dishwasher?
This is probably the most asked question. As mentioned above, technically, some non-stick pans say they’re dishwasher-safe… but if you want to keep that coating in top shape, it’s better to wash them by hand. Dishwashers can be a little too harsh over time, especially with high heat and aggressive detergents.
What kind of oil is best for conditioning a non-stick pan?
A neutral, high-smoke point oil like vegetable oil, canola, or sunflower oil works perfectly. Avoid butter or low-smoke point oils, they can leave sticky residues when heated.
How often should I condition my non-stick pan?
Do it before the very first use, and then you can repeat it every few months if you notice food starting to stick more than usual.
Why does food start sticking to my non-stick pan over time?
A few reasons: build-up of residue from oils or cooking sprays, overheating the pan, or using abrasive cleaning tools. Regular gentle cleaning and proper use can really help keep that surface slick.
Final Thoughts: Keep Your Non-Stick Pans Happy and Healthy!
With a little TLC and these simple tips approved by experts, your non-stick pans will stay in great shape, making your cooking life easier and more enjoyable for years to come! Keep them clean, treat them right, and hope this helps to keep those omelettes sliding out perfectly!


